How to Hang Pictures on Wall: The Ultimate No-Stress Guide for Perfect Placement Every Time
The Art (and Mild Chaos) of Hanging Pictures
You’ve got that gorgeous framed photo, print, or painting that’s been sitting in the corner for weeks, waiting for “the perfect moment.” Yeah, I’ve been there too. Somehow, hanging pictures on a wall seems like it should be easy—hammer, nail, done, right? But the moment you start, suddenly you’re in full-on home décor math mode, balancing tape measures, levels, and existential questions like “Is this straight or am I just crooked?”
If that sounds familiar, you’re in the right place. I’ve hung more pictures than I care to admit (some ended up falling—RIP, IKEA frame), but over time I’ve learned a few tricks to get it right every single time. This guide will walk you through exactly how to hang pictures on your wall—without the stress, without the holes in the wrong spot, and without your partner saying, “It’s fine, just leave it.”
Let’s get that wall looking Pinterest-worthy.
Step 1: Gather Your Supplies (Because Eyeballing It Never Ends Well)
Before you start poking holes in your wall, get your tools together. You’d be surprised how much easier this gets when you have the right stuff in arm’s reach.
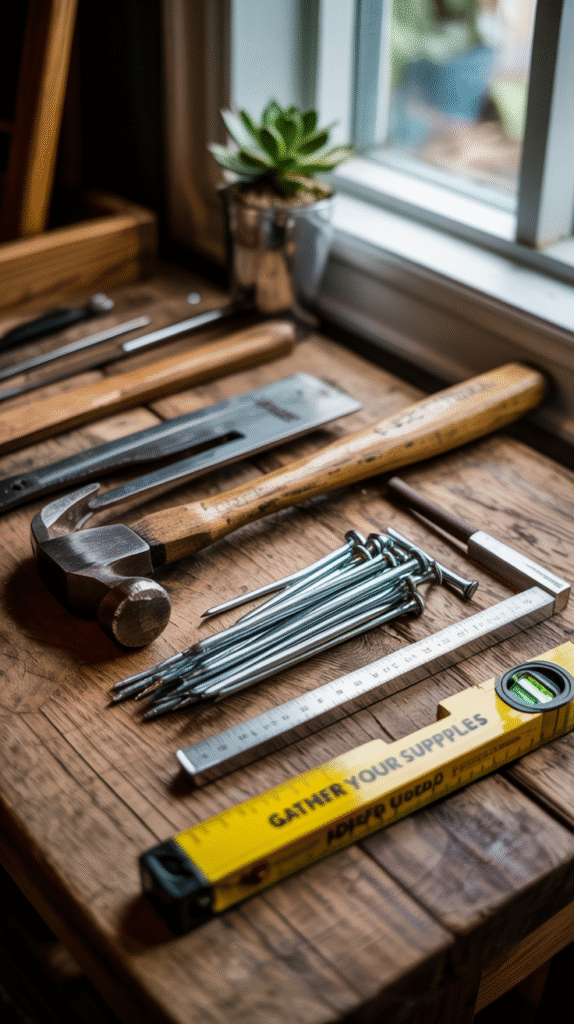
Here’s what you’ll need:
- Picture hanging hooks or nails (choose based on weight)
- Hammer or screwdriver
- Level (bubble or laser, both work great)
- Measuring tape
- Pencil (for marking)
- Painter’s tape (great for layout planning)
- Stud finder (for heavy frames—your drywall will thank you)
- Optional: Command strips or adhesive hooks for renters
Pro Tip: Don’t underestimate painter’s tape. It’s a game changer for testing layouts without commitment.
Ever tried to “eyeball it” and ended up with a picture that looked like it was hung by a tipsy raccoon? Yeah… let’s not do that again.
Step 2: Plan Your Layout Like a Pro
Before you even touch the hammer, plan. I promise, a few extra minutes here saves you from 20 unnecessary nail holes later.

The Classic Single Frame
If you’re hanging just one piece, aim to center it at eye level, which is typically around 57–60 inches from the floor to the center of the picture. That’s the sweet spot most galleries use.
Why it matters: Too high and it looks like you’re trying to impress the ceiling. Too low and it feels like the art’s shyly hiding.
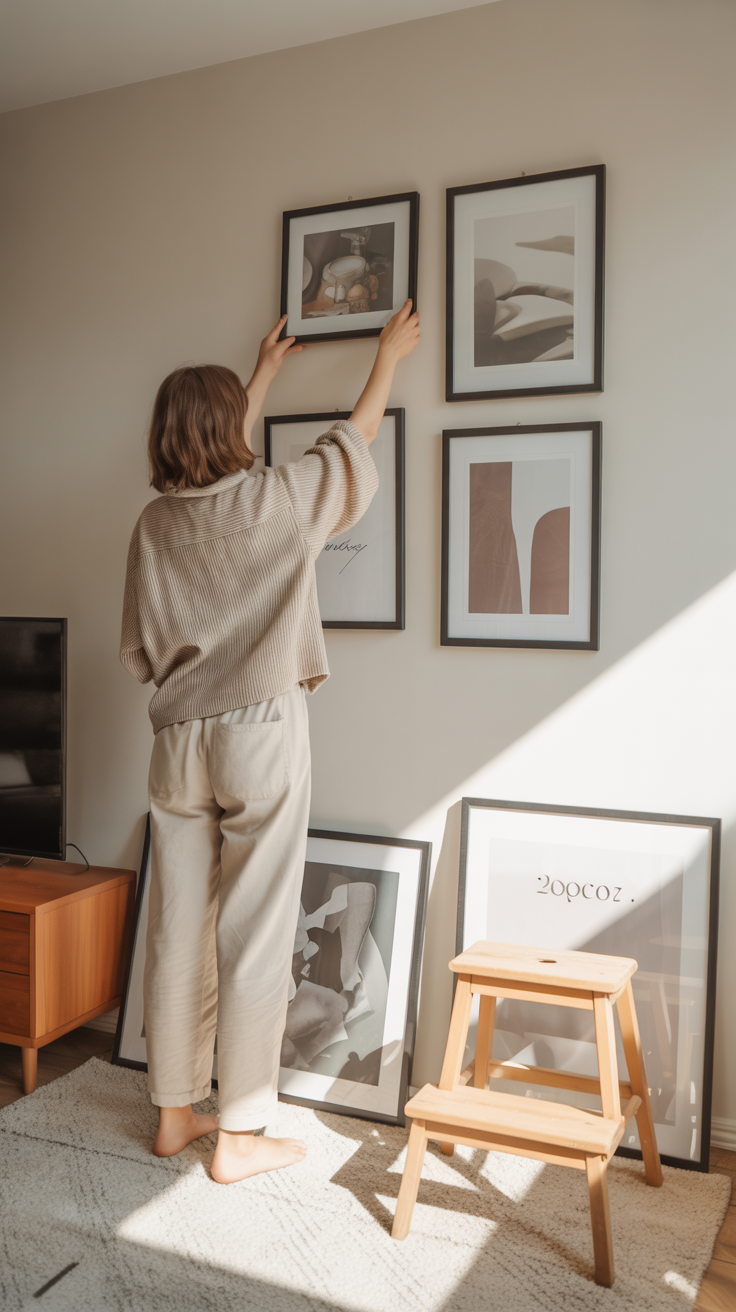
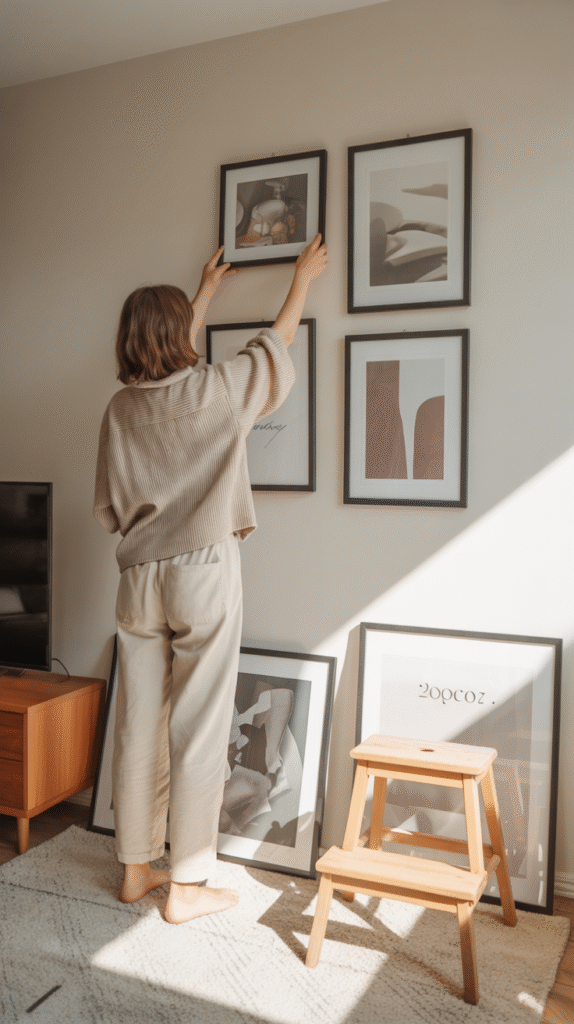
The Gallery Wall Approach
Planning a gallery wall? Buckle up—it’s basically a puzzle with more commitment.
Here’s how I do it:
- Lay out your frames on the floor first.
- Rearrange until you love it.
- Take a photo (trust me, you’ll forget the order).
- Use painter’s tape to map the layout on the wall.
Keep spacing 2–3 inches apart between frames for a balanced, airy look.
Quick Hack: Cut out paper templates the size of your frames and tape them to the wall. You’ll instantly see how the arrangement feels before making a single hole.
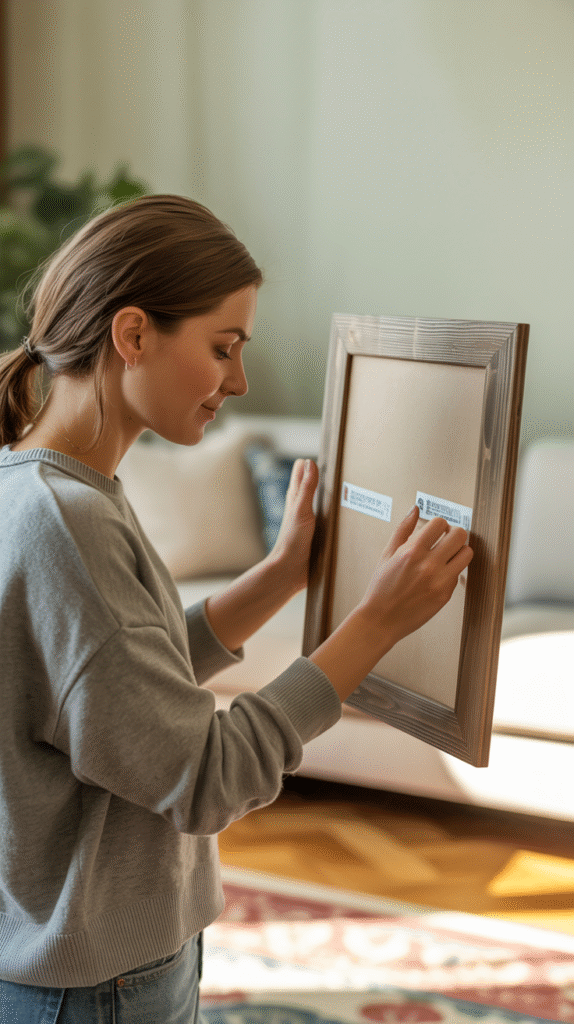
Step 3: Measure Twice, Hammer Once
This is the golden rule of wall décor. Measure your frame, measure your wall, and mark your spots carefully.
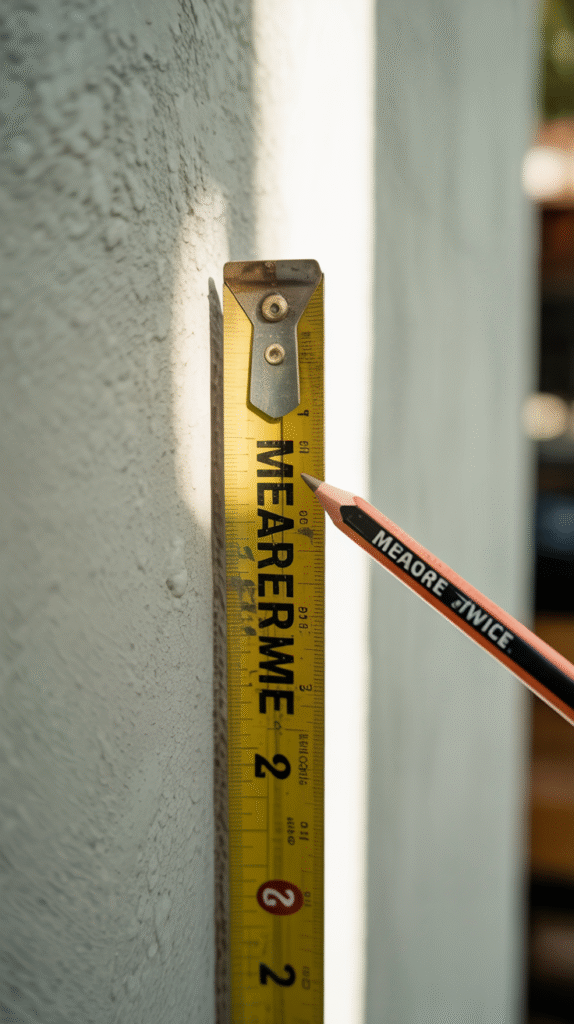
Here’s a quick method for centered perfection:
- Measure the wall width.
- Find the midpoint.
- Mark it lightly with a pencil.
- Measure the frame width and find its midpoint.
- Align the two marks, and voila—centered masterpiece incoming.
Ever wondered why professional decorators never end up with crooked frames? It’s because they measure everything. Even if you’re “not a math person,” you’ll thank yourself later for this step.
Step 4: Know Your Hanging Hardware
Let’s talk about what’s actually holding that art up. Because as cute as your print is, gravity doesn’t care.
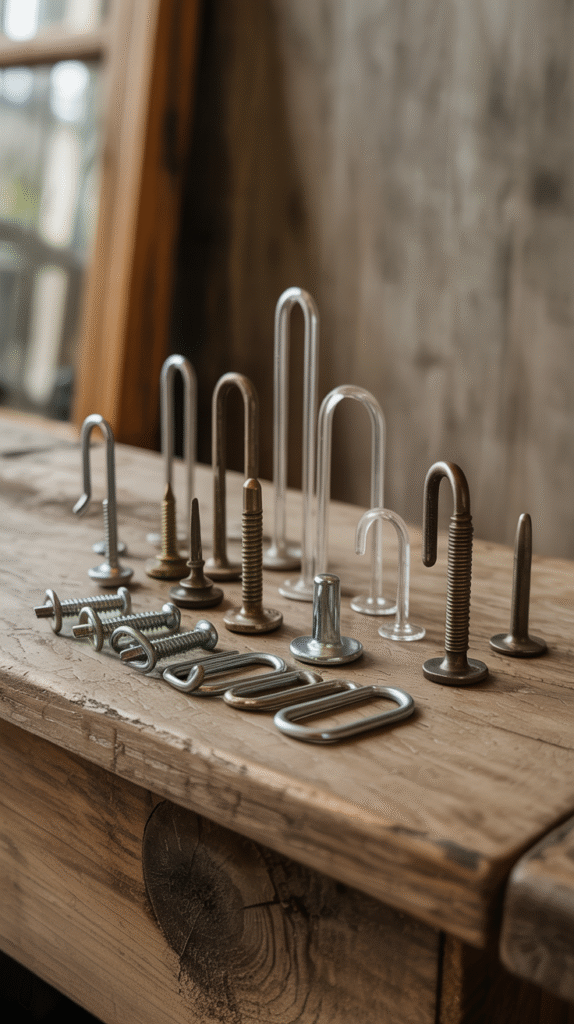
Option 1: Nails or Hooks
Perfect for medium-weight frames. Always hammer at a slight upward angle—it gives better support.
Option 2: Anchors and Screws
For heavier art or mirrors, these are your best friends. Use a stud finder to locate studs (and maybe feel like a pro contractor for a sec).
Option 3: Adhesive Hooks or Strips
For renters or commitment-phobes. They’re damage-free and surprisingly sturdy if you follow the directions.
Personal Tip: I once hung a frame with cheap adhesive hooks, ignored the “wait 1 hour” instruction, and it fell at 2 a.m. Lesson learned—patience saves drywall.
Step 5: Mark, Drill, and Hang
Okay, now comes the fun part—actually putting it up.
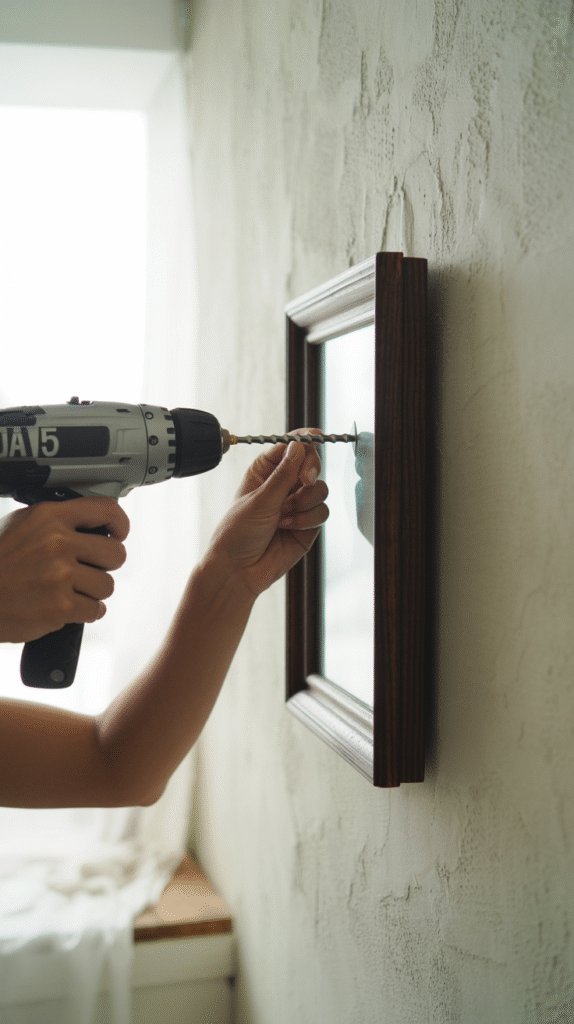
- Mark where the top of the frame should go.
- Flip your frame and measure the distance between the top and where it’ll hang from.
- Transfer that measurement to the wall.
- Drill or hammer your nail/screw/hook in.
- Hang your picture.
- Step back, admire your work, and make any small adjustments.
Pro Tip: Use a level to ensure your frame isn’t tilting. Even a 1-degree slant can drive you nuts once you notice it (and you will notice it).
Step 6: The Gallery Wall Formula (That Never Fails)
Gallery walls are trendy for a reason—they make any space instantly stylish. But they’re also easy to mess up.
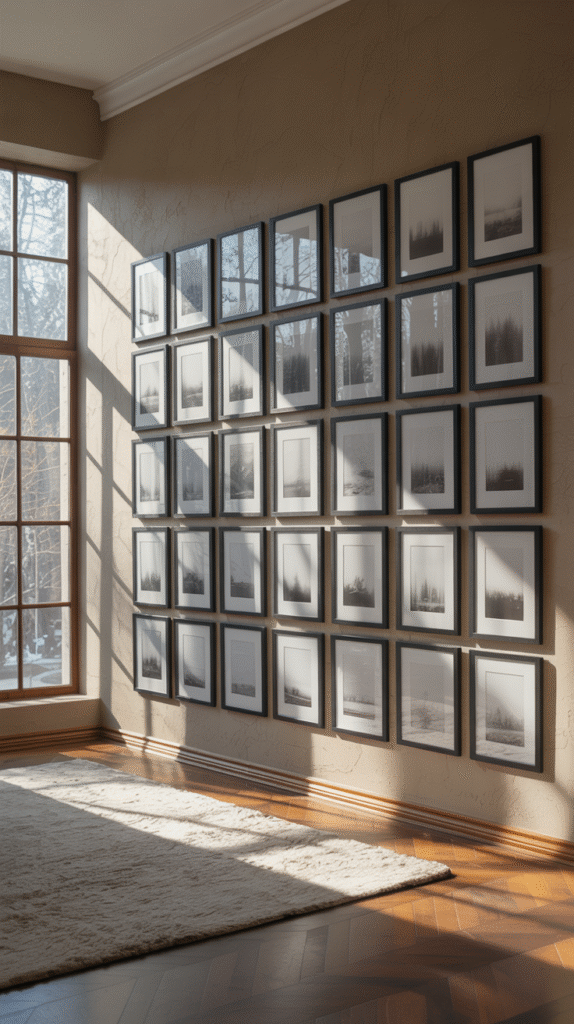
Here’s my foolproof layout plan:
- Start with the anchor piece. Pick your biggest or boldest frame and hang it first at eye level.
- Work outward. Add other pieces around it, balancing colors and sizes as you go.
- Keep spacing consistent. Use that 2–3 inch rule again—it keeps things cohesive.
- Mix it up. Combine artwork, photos, and maybe even a small mirror or wall sculpture for variety.
Ever notice how Pinterest-perfect walls feel “balanced” even when the frames aren’t identical? That’s because the visual weight is spread evenly. Think of it like a see-saw—if one side’s heavy, the other needs something equally eye-catching.
Step 7: Level It Like a Boss
You can’t talk about hanging pictures without mentioning levels. Seriously, levels are life.

Use a simple bubble level or grab a laser level if you want to feel like you’re building a spaceship. Either way, this ensures your frame sits perfectly straight.
Quick Trick: Stick a piece of painter’s tape on the wall, mark your nail spots on it, and hang your art. Once it’s perfect, peel the tape off—no random pencil marks left behind.
And if you don’t have a level? Use your smartphone! Most phones have built-in level apps now. (Technology finally doing something useful for home projects, right?)
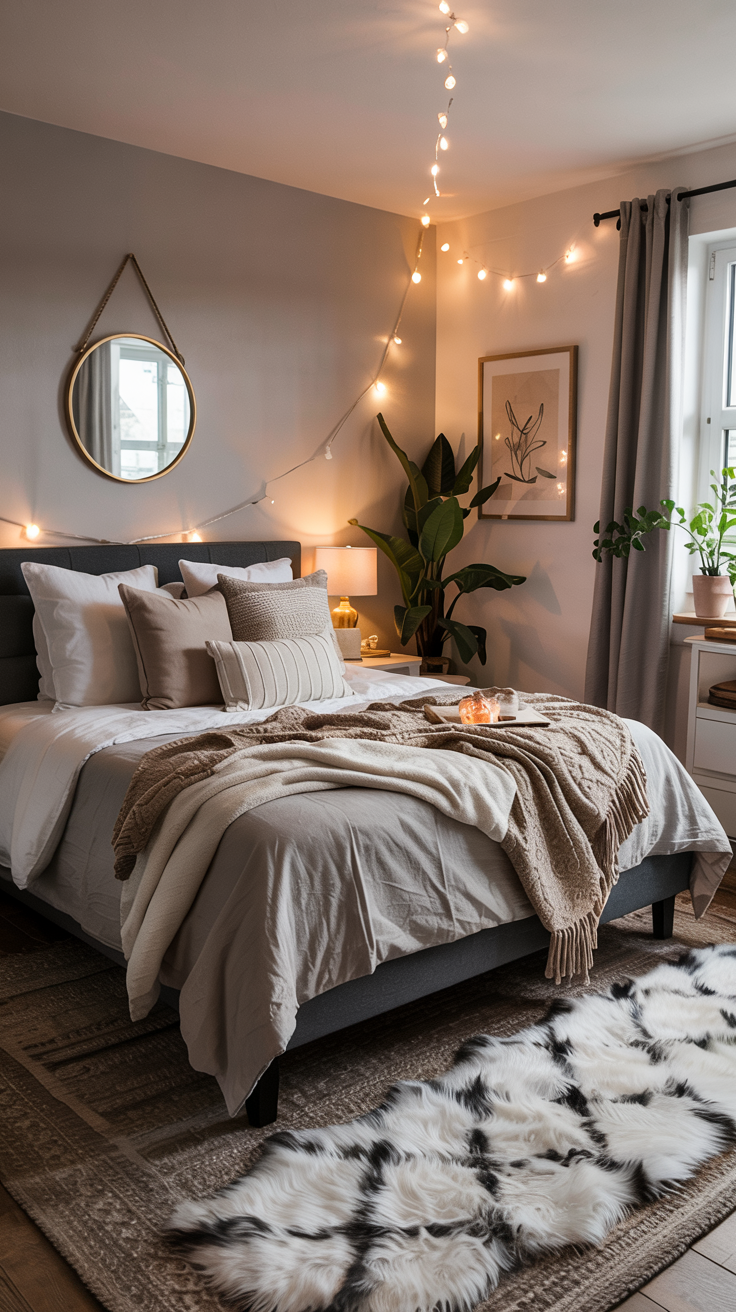
Step 8: Adjust Lighting for Extra Wow
Lighting can totally make or break how your wall art looks.

- Natural Light: Great during the day but watch for glare on glass frames.
- Accent Lighting: Small picture lights or LED strips above frames add a pro look.
- Warm Bulbs: Soft, warm tones make art feel cozy and inviting.
Pro Move: If your art looks flat or dull, angle a lamp toward it. You’ll instantly see depth and color pop—like you just turned your home into a mini gallery.
Step 9: Hanging Without Nails (Because Landlords Are a Thing)
Not ready to turn your wall into Swiss cheese? No worries. There are plenty of no-nail hanging options that actually work.
Best Nail-Free Solutions:
- Command Strips: Perfect for lightweight to medium frames. Just make sure the surface is clean before sticking.
- Adhesive Hooks: Ideal for wire-backed frames.
- Lean It: Yep—lean your art on a shelf or mantle for a relaxed, modern vibe.
- Picture Rails: These let you rearrange art without new holes each time.
IMO, picture rails are a total game-changer if you love switching up décor. It’s like your wall’s on a flexible subscription plan. 🙂
Step 10: Troubleshooting (AKA When Things Go Wrong)
Let’s be honest—sometimes, despite your best effort, things go sideways. Literally.
Problem: Crooked Frames
Fix: Adjust the wire or add small adhesive bumpers on the lower corners to stabilize it.
Problem: Art Too High or Too Low
Fix: Reposition it so the center is 57–60 inches from the floor. Use painter’s tape to find the right spot first.
Problem: Wall Damage
Fix: Use spackle or filler, sand, and repaint. Next time, try removable hooks.
Problem: Heavy Frames Pulling Out
Fix: Use wall anchors or screws directly into studs.
And if all else fails, call it “abstract installation art.” 😉
Step 11: Styling Tips for Maximum Impact
Now that everything’s hung straight and secure, let’s talk about styling.

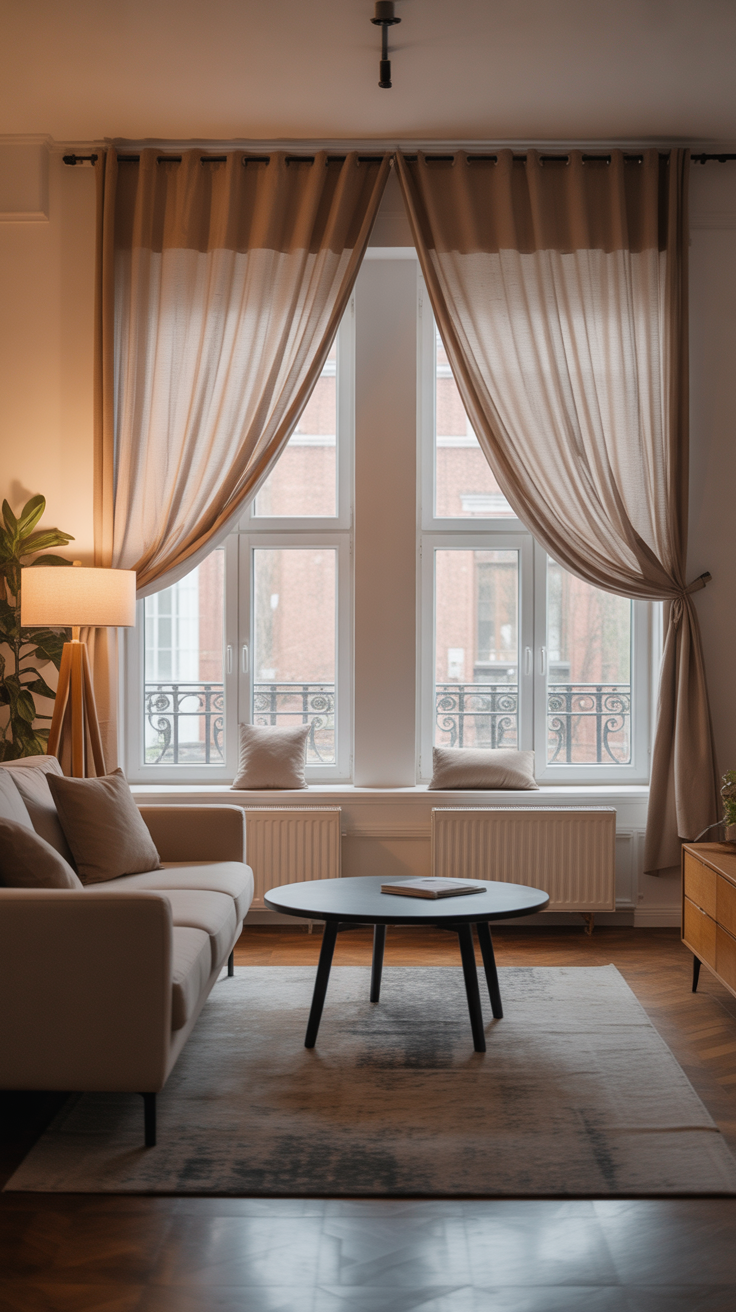
Go Big in Small Spaces
A large statement piece in a small room can make it feel bigger, not smaller. It draws the eye upward and outward.
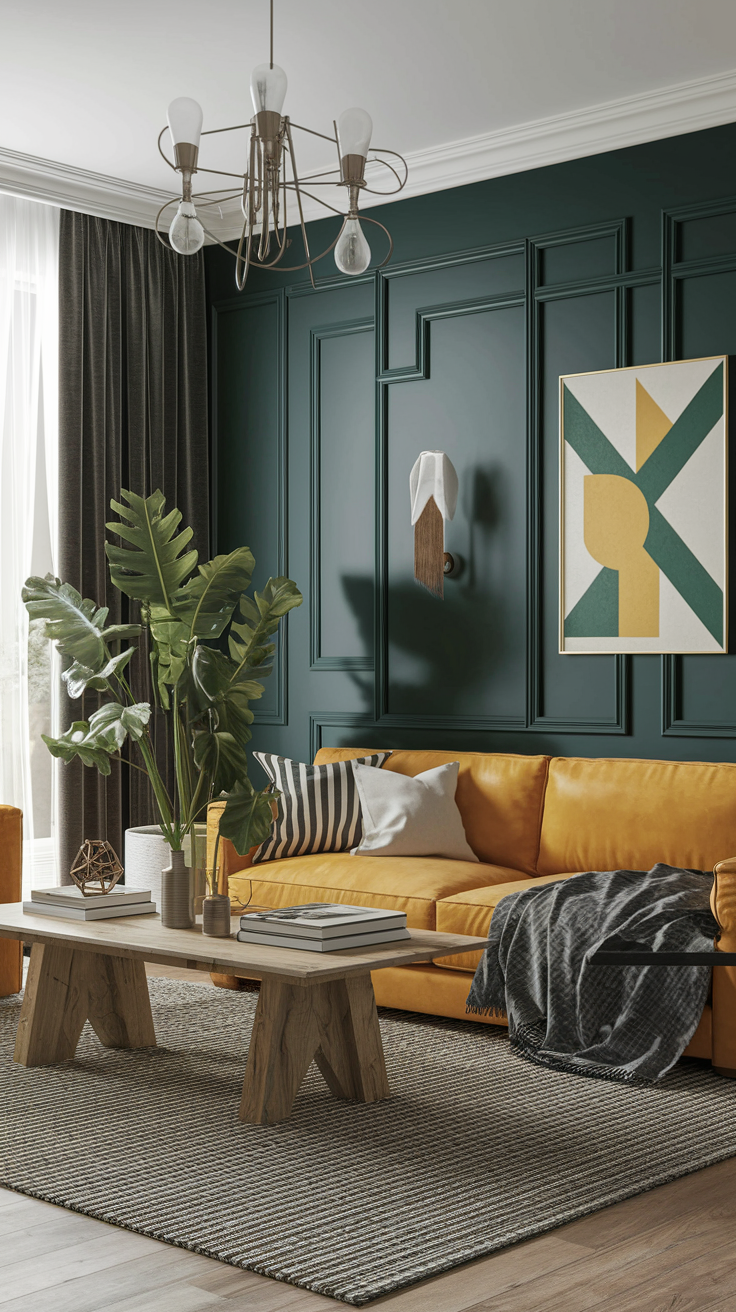
Mix Frame Styles
Don’t be afraid to blend wood, metal, and color. Eclectic looks add personality and charm.
Add Texture
Include woven art, macramé, or wall baskets. They break up the flatness and make the wall feel dynamic.
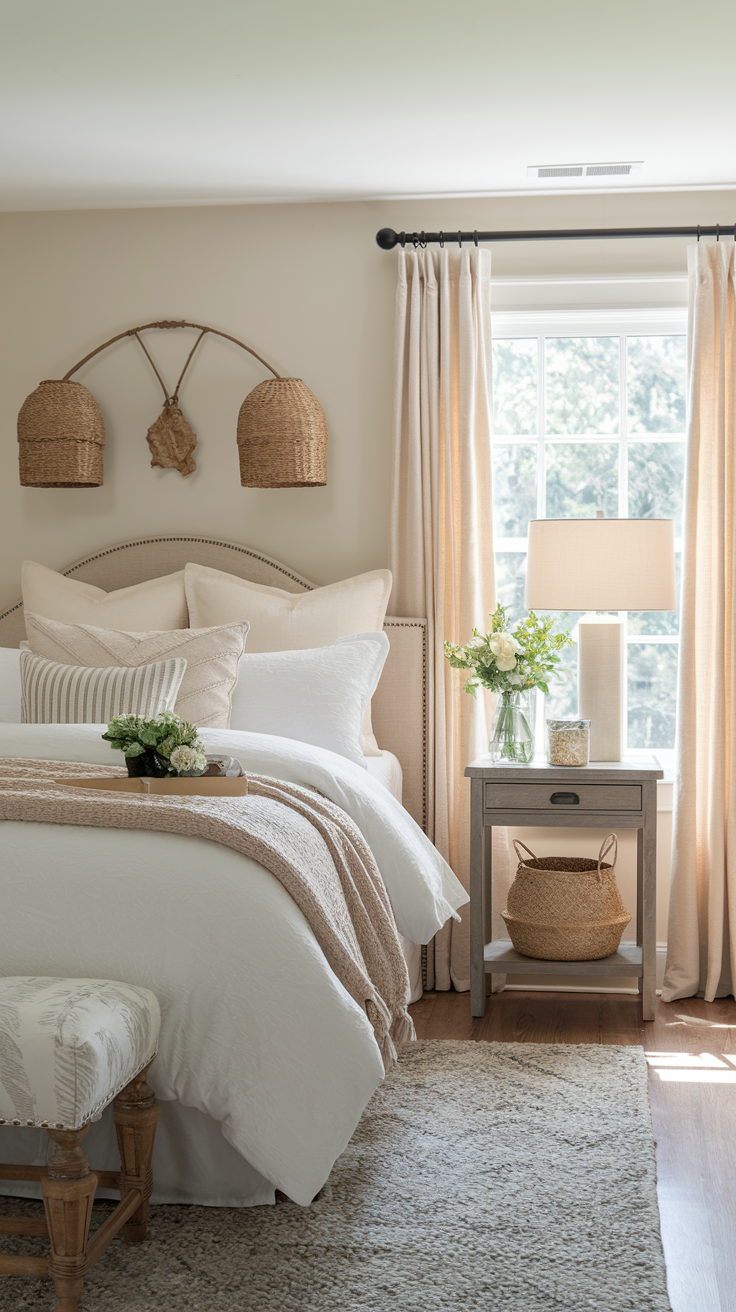
Use a Theme
Stick to a color palette or vibe—like “cozy neutrals” or “modern black-and-white.” It ties everything together beautifully.
Ever walked into someone’s home and immediately thought, “This just feels right”? That’s the power of intentional design.
Step 12: Maintenance and Refreshing Your Wall
Your wall art doesn’t have to stay static forever. In fact, rotating your pieces can keep your space feeling fresh and inspiring.
Here’s how to maintain your setup:
- Dust regularly with a microfiber cloth.
- Check for loose hooks every few months.
- Swap seasonal art for an easy décor refresh.
- Update photos annually—it keeps your space personal and current.
Sometimes, a small swap (like replacing a photo or adding a new print) can make your whole room feel brand new.
Step 13: My Go-To Hanging Mistake (and What I Learned)
Confession time: my first gallery wall looked like a drunk Tetris game. I didn’t measure anything, I just “went for it.” Spoiler alert—it looked awful.

After patching 10 random nail holes and repainting the wall, I realized planning is 90% of the job. Now, I test layouts with paper cutouts first and use a level religiously.
So yeah, if you’re tempted to skip the measuring step, don’t. Future you will be so grateful.
Step 14: Quick Reference Cheat Sheet
Because we love a good shortcut:

- Center art at 57–60 inches from the floor.
- Keep 2–3 inches between frames on a gallery wall.
- Measure twice, hammer once.
- Use anchors for heavy pieces.
- Level every frame.
- Test layouts with painter’s tape or paper templates.
Print that out, stick it on your fridge, and you’ll never hang art wrong again.
Conclusion: Hang It, Love It, Live With It
At the end of the day, hanging pictures is about personality, not perfection. Sure, it’s nice when every frame’s level and evenly spaced, but what really matters is that your wall reflects you.
Whether it’s family photos, art prints, or that random thrift-store painting you just couldn’t leave behind, your walls should make you smile every time you walk in.
So grab your tools, take a deep breath, and start hanging. You’ve got this—and if it ends up slightly crooked? Well, call it “modern art” and pour yourself a coffee. You earned it.