How to Hang Curtains: A Friendly, No-Stress Guide
So, you bought curtains. Yay! 🎉 That’s the easy part. Now you’re staring at the wall, rod in hand, wondering if this is the moment you discover that your “eyeballing skills” are not as impressive as you thought. Trust me, I’ve been there. Hanging curtains seems like a “five-minute job,” but it can quickly spiral into a mini home-renovation nightmare if you don’t know the basics.
The good news? Once you know the steps—and the little tricks people don’t tell you—hanging curtains becomes ridiculously simple. And dare I say, kind of fun. Seriously, when you nail it (pun intended), you’ll feel like an interior designer who just won an HGTV makeover challenge.
So grab your curtain rod, channel your inner DIY rockstar, and let’s break down exactly how to hang curtains without losing your sanity (or your drill).
Why Curtains Matter (More Than You Think)
Curtains aren’t just fabric you hang to block nosy neighbors. They’re like the eyeliner of a room—suddenly, everything looks more polished. Ever walked into a space and thought, “Wow, this feels cozy”? Chances are, curtains had something to do with it.
Here’s what curtains bring to the table:
- Privacy — Unless you’re into giving free neighborhood peep shows, curtains are a must.
- Light control — Sheer curtains let in a dreamy glow; blackout ones make your room feel like a cave (in the best way).
- Style — From boho vibes to sleek minimalism, curtains instantly set the mood.
- Energy efficiency — Thicker curtains can actually help insulate your room. Your heating bill will thank you.
Basically, curtains = cheap magic for your space. But only if you hang them right.
Step 1 — Measure Like a Pro (Don’t Skip This!)
Ever heard the phrase “measure twice, cut once”? With curtains, it’s “measure three times, drill once.” Nothing ruins the vibe faster than realizing your rods are uneven and your curtains pool weirdly on the floor.
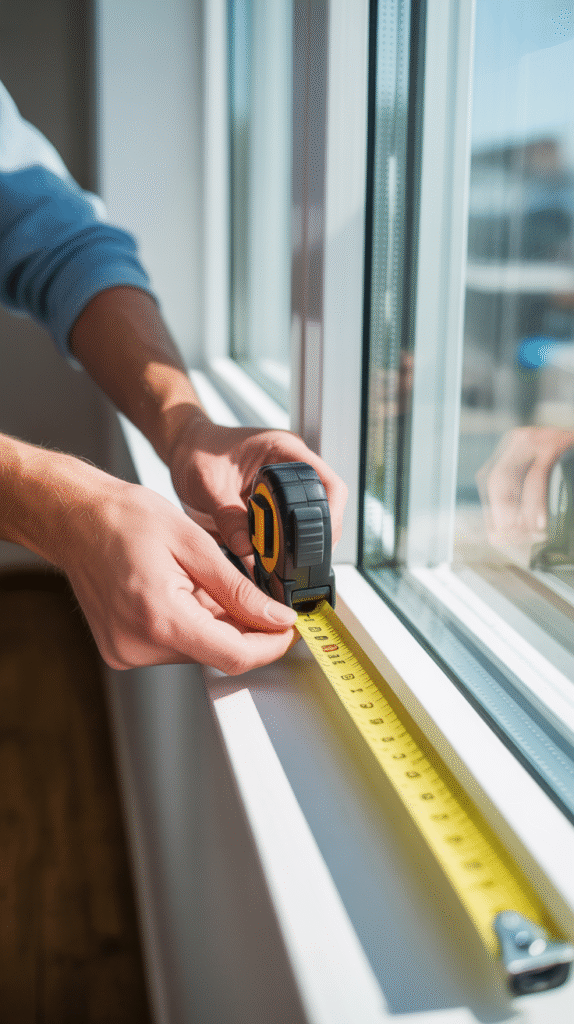
What you need to measure:
- Width of the window — Add at least 8–12 inches on either side so the curtains frame the window instead of smothering it.
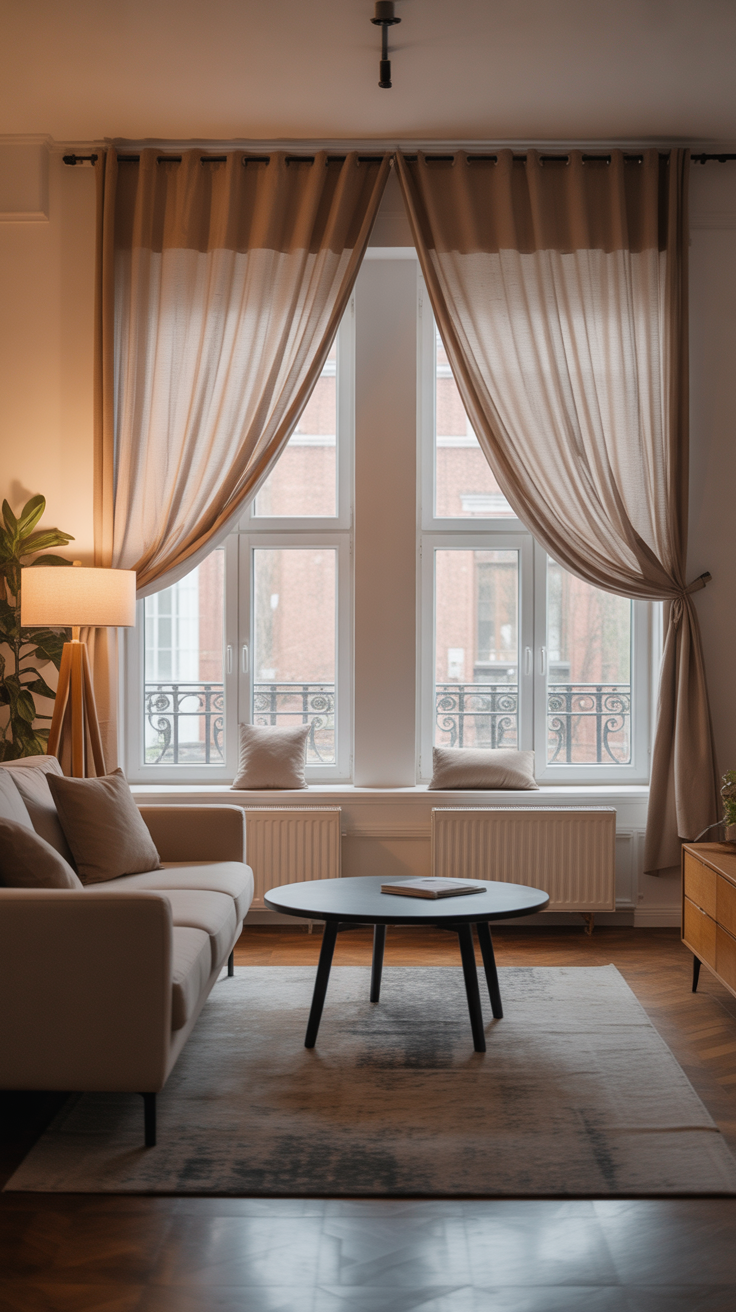
- Height from the floor to where you’ll mount the rod — Curtains look best when hung high and wide. Mount your rod 4–6 inches above the window frame—or even closer to the ceiling if you want drama.
- Length of the curtain panels — Decide if you want them:
- Just grazing the floor (polished look).
- Pooling slightly (romantic vibe).
- Floating an inch above the floor (practical, especially if you vacuum a lot).
Pro tip: Always round up on length. Too short curtains scream “college dorm.”
Step 2 — Pick the Right Curtain Rod
Curtain rods are like shoes: the wrong pair can ruin the whole outfit.
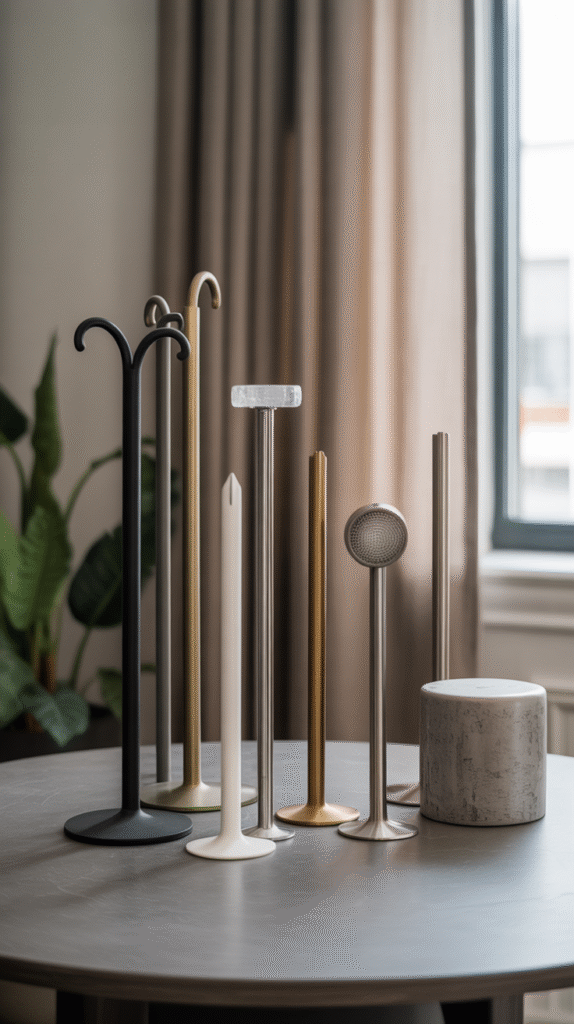
Types of curtain rods:
- Standard rods — Simple, straight, and classic.
- Tension rods — Great for renters, but not ideal for heavy curtains.
- Traverse rods — Best for extra-wide windows or if you want fancy opening/closing.
- Decorative rods — Come with finials (the little knobs on the ends) that can match your room’s aesthetic.
Rule of thumb: Choose a rod that’s sturdy enough for your curtain fabric. Sheer curtains? Go light. Heavy velvet blackout curtains? Get a rod that could double as a medieval weapon.
Step 3 — Mark and Drill Without Panic
This is the step that makes people sweat. Drills + walls = commitment issues. But don’t worry, it’s easier than you think.
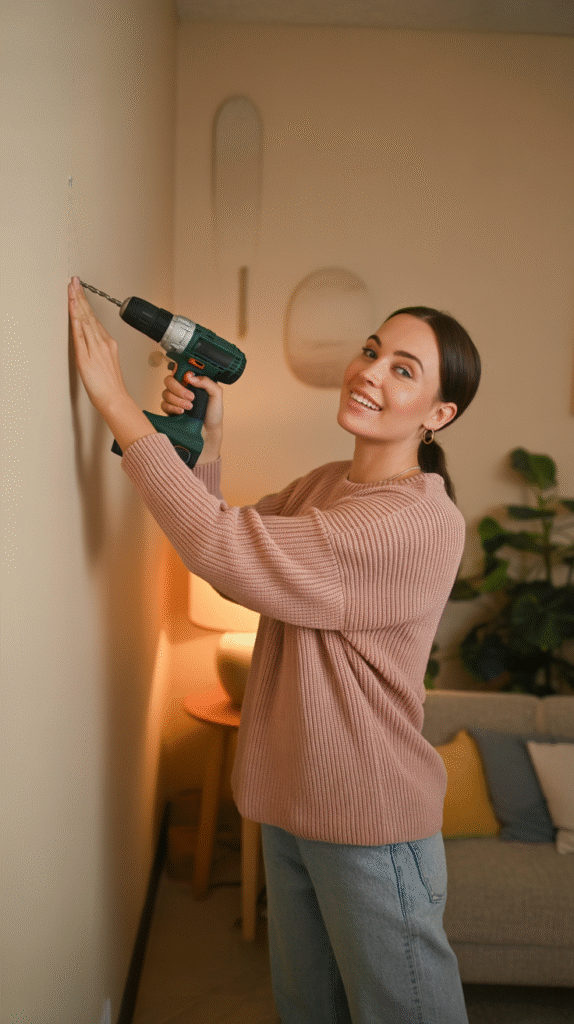
How to do it right:
- Mark your spots — Use a pencil and a level (no crooked rods, please).
- Check for studs — If your curtains are heavy, screw into studs. If not, use wall anchors.
- Drill holes — Start small, then go bigger if needed. Think of it as “sneaking up on the hole.”
- Attach brackets — Screw them in tight. Loose brackets = saggy curtains.
Ever tried hanging curtains without a level? Spoiler: your guests will notice. 😅
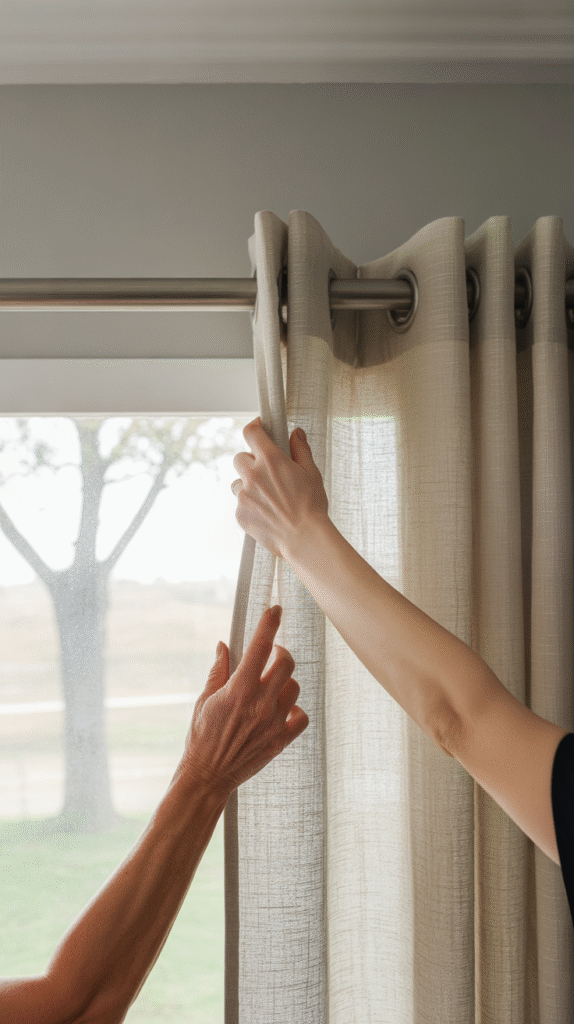
Step 4 — Hang the Curtains
The fun part! Slip your curtain panels onto the rod, then lift and set it into the brackets. Stand back and admire your work.
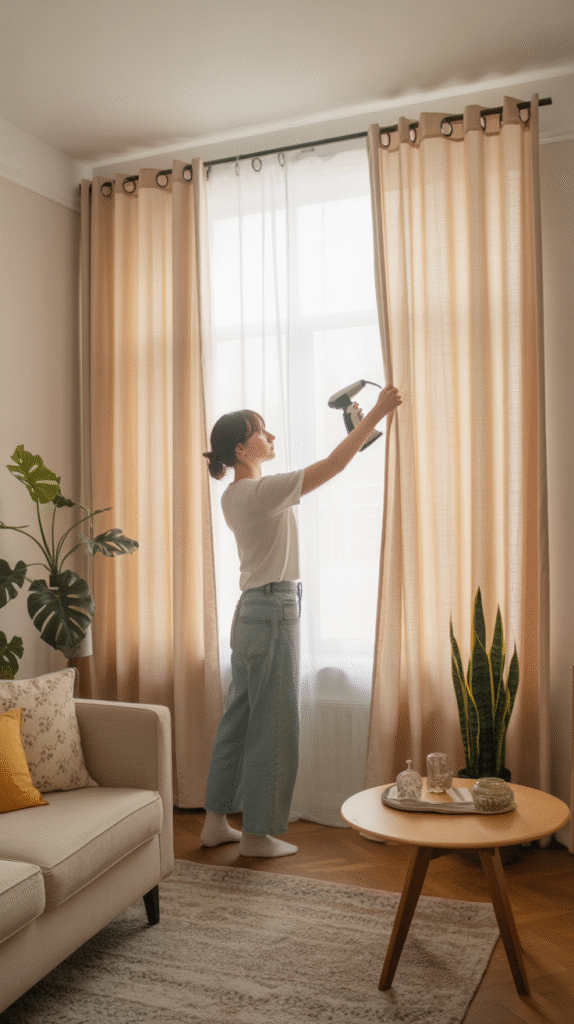
Curtain style options:
- Grommet top — Metal rings that slide easily.
- Rod pocket — Fabric pocket that creates a gathered look.
- Tab top — Loops that hang over the rod (casual vibe).
- Ring clips — Flexible and easy to adjust.
I’m a big fan of ring clips because they make it easy to swap curtains without rethreading everything. Lazy? Maybe. Efficient? Definitely.
Step 5 — Adjust, Fluff, and Style
Curtains aren’t “done” when you hang them. You need to finesse them.
- Steam or iron them — Wrinkled curtains kill the look.
- Train them — Fold the fabric neatly so it “remembers” the shape.
- Layer if needed — Add sheers behind blackout curtains for a stylish combo.
Ever wonder why Pinterest rooms look so perfect? It’s not magic—it’s steamed, styled curtains.
Common Curtain Hanging Mistakes (and How to Avoid Them)
Let’s be real, we’ve all seen some tragic curtain fails. Here’s what not to do:
- Hanging too low — Makes ceilings look shorter.
- Too narrow rods — Curtains don’t cover enough space.
- Too short panels — The dreaded “high-water pants” look.
- Ignoring hardware — Cheap rods = curtains that sag or fall.
- Skipping measurements — Rookie mistake that leads to chaos.
Avoid these, and your space instantly feels more designer-approved.
Curtain Hacks That Make Life Easier
Because who doesn’t love a good hack?
- Use command hooks if you can’t drill holes.
- Add thermal liners for extra insulation.
- Try double rods for layered looks.
- Buy rods that extend a little longer than you think you’ll need.
- Use clip rings to “fake” longer curtains.
Choosing the Right Curtains for Your Space
Picking curtains isn’t just about hanging them—it’s about choosing wisely.
- Living room — Go elegant but functional (sheer + blackout combo works great).
- Bedroom — Blackout curtains for better sleep.
- Kitchen — Short café curtains keep things bright but private.
- Kids’ rooms — Durable, easy-to-wash fabrics.
Ask yourself: Do I want cozy or dramatic? Bright or moody? Your curtains should answer that.
Tools You’ll Actually Need
Nothing fancy, just the basics:
- Tape measure
- Pencil
- Level
- Drill (or screwdriver if you’re patient)
- Anchors/screws
- Ladder (unless you’re part giraffe)
Optional but handy:
- Stud finder
- Steam iron
- Extra set of hands (bribed with pizza, ideally)
Final Thoughts
Hanging curtains isn’t rocket science, but it does take a little planning. Measure first, choose the right hardware, mount high and wide, and style them after. Do that, and you’ll transform your room instantly.
And hey, if your first attempt looks a little wonky? No stress. That’s what patch kits and redo’s are for. By your second window, you’ll feel like a curtain pro. 😉
So grab those rods, cue up your favorite playlist, and let’s make your windows look amazing.