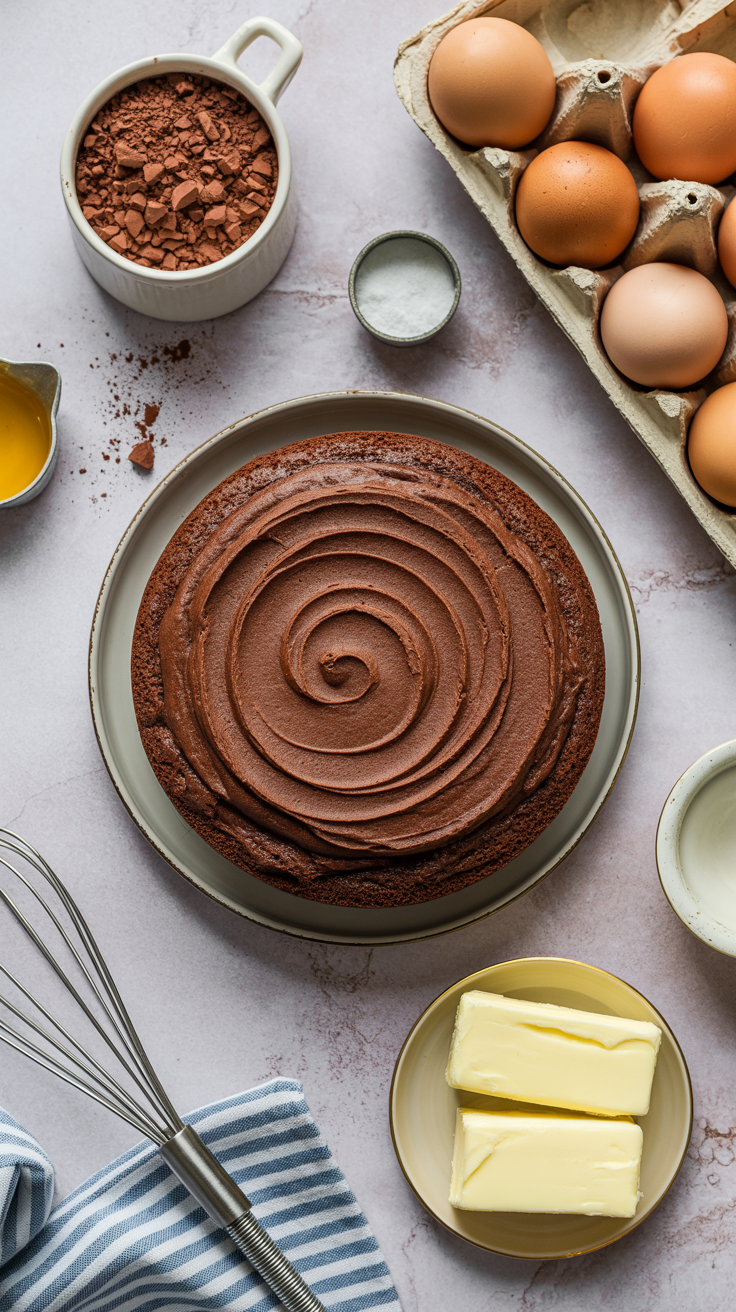
🍫 The Best Chocolate Cake Recipe Ever (Yes, Really)
So you’re craving chocolate cake but don’t want to spend your entire weekend pretending to be on The Great British Bake Off, huh? Same. Look, sometimes you just want a rich, fudgy, soul-hugging slice of cake without turning your kitchen into a crime scene. That’s where this chocolate cake recipe comes in — it’s easy, indulgent, and honestly dangerously good.

Whether you’re baking for someone special or just stress-eating your feelings (been there), this cake will deliver. No weird ingredients, no complicated steps, and no judgment if you lick the frosting bowl clean. Let’s bake some happiness, shall we?
Why This Recipe is Awesome
Here’s the thing — there are hundreds of chocolate cake recipes out there, but this one hits different. Why? Because it checks all the boxes for lazy bakers and perfectionists alike:
- It’s super moist, thanks to one sneaky ingredient: hot coffee. (Don’t worry, it won’t taste like a Starbucks latte.)
- You don’t need fancy equipment — a whisk, two bowls, and an oven are all you need.
- The flavor? Think rich cocoa heaven meets silky chocolate frosting dreams.
- It’s foolproof. Seriously. Even if you’ve burned toast before, you can pull this off.
- And bonus: it makes your kitchen smell like a five-star bakery — without the pressure of actually being one.
Basically, this recipe is the baking equivalent of that friend who’s effortlessly cool but still helps you move apartments. Reliable, comforting, and just the right amount of sweet.
Ingredients You’ll Need
Here’s what you’ll need to bring this chocolatey masterpiece to life. Don’t panic — most of these are probably already in your pantry.
For the Cake:
- 1 ¾ cups (220g) all-purpose flour — nothing fancy, just your regular flour.
- 1 ½ cups (300g) sugar — because life’s too short for bland desserts.
- ¾ cup (75g) unsweetened cocoa powder — go for a good brand if you can; it’s the main flavor star.
- 2 tsp baking soda — gives that perfect rise.
- 1 tsp baking powder — teamwork makes the dream work.
- 1 tsp salt — balances all the sweetness.
- 2 large eggs — room temperature, please (we’re not animals).
- 1 cup (240ml) buttermilk — makes it extra tender and moist.
- ½ cup (120ml) vegetable oil — keeps everything luscious.
- 2 tsp pure vanilla extract — because fake vanilla is just sad.
- 1 cup (240ml) hot coffee or hot water — deepens the chocolate flavor like magic.
For the Frosting:
- 1 cup (230g) unsalted butter, softened — don’t microwave it; just let it chill at room temp.
- 3 ½ cups (440g) powdered sugar — sift it if you’re feeling fancy.
- ½ cup (45g) cocoa powder — more chocolate, more happiness.
- ½ tsp salt — trust the process.
- 2 tsp vanilla extract — again, real stuff only.
- ¼ cup (60ml) heavy cream or milk — for that silky, spreadable texture.
Optional but highly encouraged: chocolate shavings, sprinkles, or a mountain of berries for decoration.
Step-by-Step Instructions
All right, apron on, playlist queued, and let’s make some baking magic happen:
1. Preheat & Prep
Preheat your oven to 350°F (175°C). Grease two 9-inch round cake pans (or one 9×13 if you’re lazy like me). Line with parchment paper for easy removal — because nothing’s worse than a cake that sticks.
2. Mix the Dry Stuff
In a large bowl, whisk together flour, sugar, cocoa powder, baking soda, baking powder, and salt. Boom. Done. It should look like a chocolate cloud.
3. Add the Wet Crew
In another bowl, whisk together eggs, buttermilk, oil, and vanilla until smooth. Think of it as the glossy, luxurious counterpart to your dry mix.
4. Combine Forces
Pour your wet mixture into the dry ingredients. Stir gently until just combined — don’t overmix, or your cake will be dense like a brick (we’re baking cake, not dumbbells).
5. Add the Secret Weapon
Now pour in your hot coffee (or hot water if caffeine isn’t your vibe). The batter will look runny — that’s good. It’s how you get that velvety texture.
6. Pour & Bake
Divide the batter evenly between your pans. Pop them in the oven for 30–35 minutes, or until a toothpick comes out clean. Don’t open the oven door every two minutes. Patience, my friend.
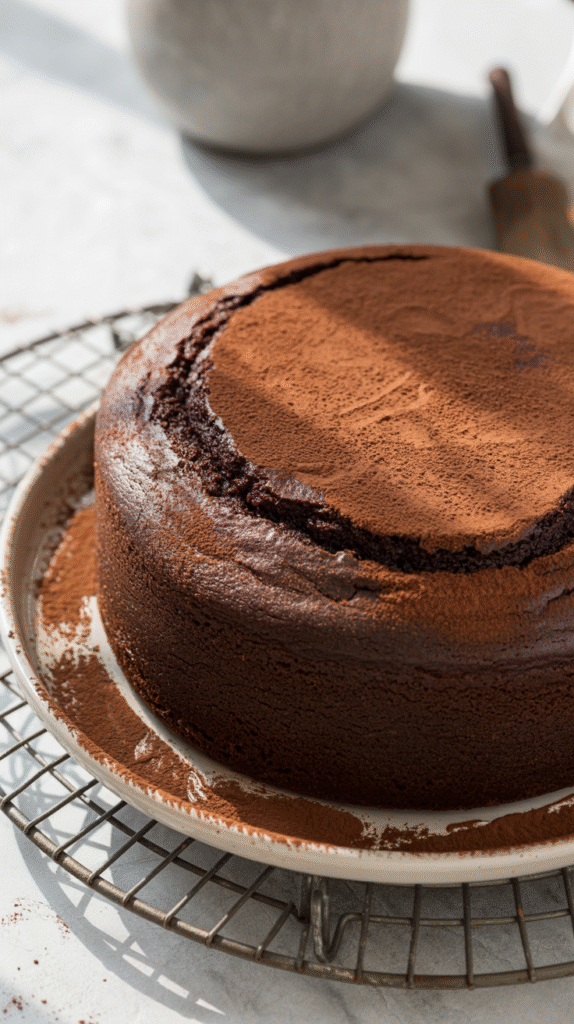
7. Cool It Down
Let the cakes cool in the pans for 10 minutes, then transfer them to a wire rack. Cool completely — yes, completely — before frosting. (Warm cake + frosting = melty sadness.)
8. Make the Frosting
In a large bowl, beat the butter until creamy. Add powdered sugar, cocoa powder, salt, and vanilla, then mix on low until it starts to come together. Add cream or milk gradually until you reach that smooth, dreamy frosting consistency.
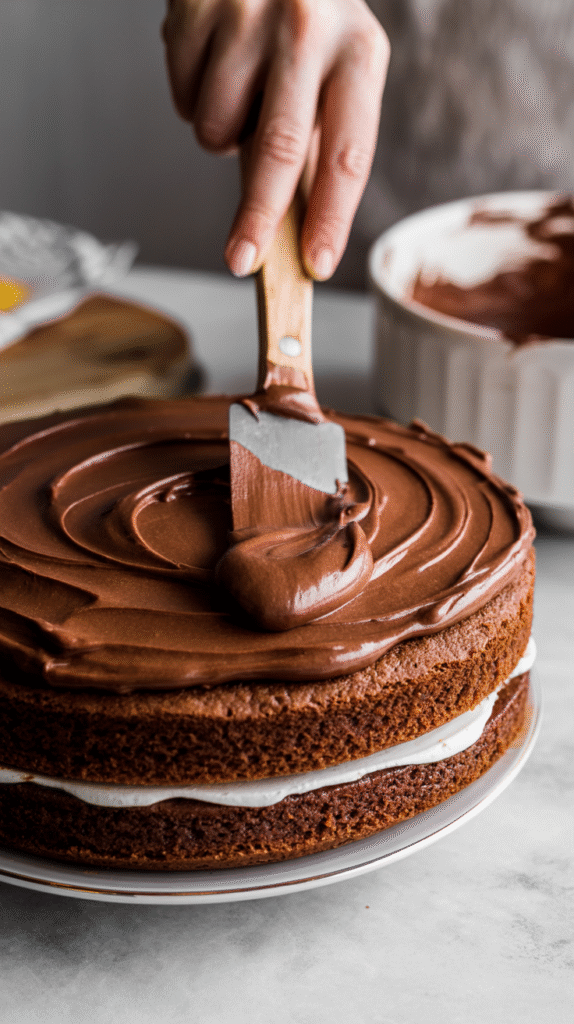
9. Assemble Like a Pro
Place one cake layer on your stand or plate. Spread a generous amount of frosting on top, then stack the second layer. Frost the entire cake with love and zero restraint.
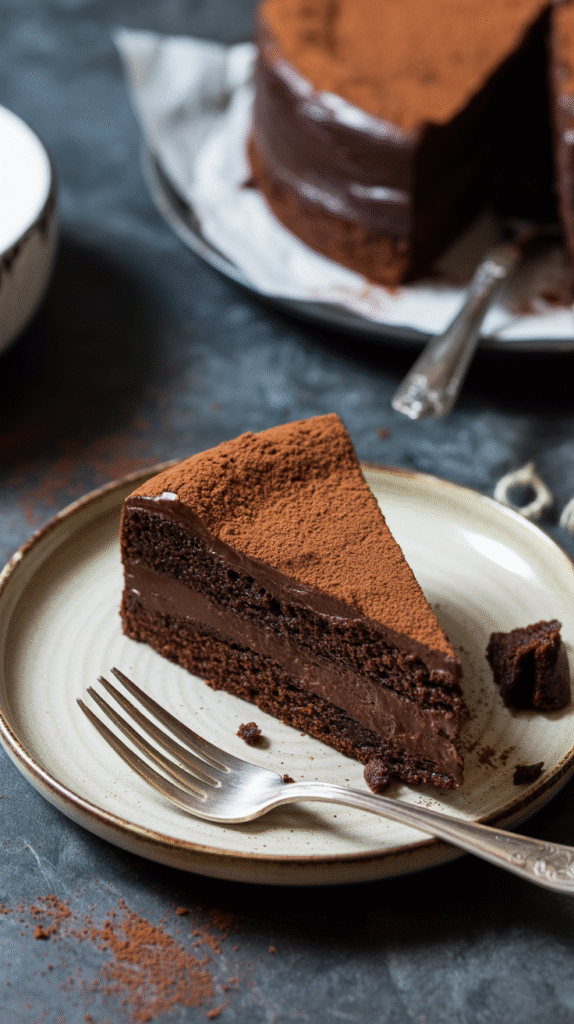
10. Decorate & Devour
Top with chocolate curls, sprinkles, or berries. Step back. Admire your creation. Take a picture (because let’s be real, if it’s not on Instagram, did it even happen?). Then grab a fork and dive in.
Common Mistakes to Avoid
Alright, let’s save you from the baking disasters I’ve already made on your behalf.
- Skipping the preheat. Your cake will bake unevenly and you’ll cry later. Preheat. Always.
- Using cold eggs or milk. Temperature shock = weird texture. Room temp everything!
- Overmixing the batter. You’re making cake, not cement. Stir until just combined.
- Ignoring the hot coffee step. No, it doesn’t make it taste like coffee. It makes it taste like actual chocolate.
- Frosting too soon. Impatience leads to melted frosting and heartbreak.
- Not greasing the pan enough. That’s how cake gets glued to metal — a true tragedy.
- Cutting it right after baking. Let it cool, hero. You’ve waited this long.
Alternatives & Substitutions
Life happens. You open the fridge and realize you’re missing something. No problem — here’s how to adapt:
- No buttermilk? Mix 1 cup milk with 1 tbsp vinegar or lemon juice. Wait 5 minutes, and voila — instant buttermilk.
- No coffee? Use hot water, but promise me you’ll try the coffee version next time.
- No eggs? Mix ¼ cup applesauce or mashed banana per egg. It’ll make your cake extra moist (and slightly fruity).
- Gluten-free? Use a good 1:1 gluten-free flour blend. (Not almond flour, please — that’s a different species of cake.)
- No butter for frosting? Margarine technically works, but IMO, that’s like replacing chocolate with carob — why would you do that to yourself?
- Vegan version? Use plant-based milk, flax eggs, and vegan butter. Works surprisingly well.
Make it your own. That’s the beauty of baking — you’re the boss.
FAQ (Frequently Asked Questions)
1. Can I make this cake ahead of time?
Totally! Bake the layers, let them cool, wrap in plastic wrap, and store at room temperature for up to 2 days. Frost right before serving so it looks fresh.
2. Can I freeze the cake?
Yes! Wrap unfrosted layers tightly in plastic and foil, then freeze for up to 3 months. Thaw at room temperature before frosting. Boom, instant party cake.
3. Do I really need coffee in it?
You don’t need it, but you’ll be missing out on flavor depth. The coffee enhances chocolate — it’s like adding a filter to your selfie. Subtle but powerful.
4. Can I use Dutch-process cocoa powder?
You can, but it’ll make the cake a bit darker and richer. Regular cocoa works great though. Just don’t skip it entirely unless you enjoy eating sweet cardboard.
5. How do I know when it’s done?
Insert a toothpick — if it comes out clean or with just a few moist crumbs, you’re golden. If it’s gooey, give it a few more minutes. Don’t guess; we’re not fortune tellers.
6. Can I make cupcakes instead?
Absolutely! Same batter, just bake for 18–20 minutes instead. Cupcakes are basically the portable version of happiness.
7. What’s the best way to store leftovers?
If you somehow have leftovers (impressive restraint, by the way), store them in an airtight container at room temperature for up to 3 days or in the fridge for up to 5.
Final Thoughts
There you have it — the ultimate chocolate cake recipe that’s rich, moist, and basically therapy in dessert form. It’s simple enough for beginners but decadent enough to impress your friends, family, or whoever you’re trying to show up at the next potluck.
And honestly? Once you make this, you might start finding excuses to bake it again. “Oh, it’s Tuesday? Better make a cake.”
So go ahead, grab that whisk and make some magic. Just don’t forget to save me a slice (or three).
Now go impress someone — or yourself — with your new culinary skills. You’ve earned it! 🍰